Today’s chosen theme: Preventing and Treating Wood Furniture Damage. Welcome to a warm, practical guide for keeping heirlooms and everyday pieces beautiful for years. Learn simple habits, smart fixes, and heartfelt stories that turn small scares into confident care. Subscribe and share your own tips to keep this conversation alive.
Wood is hygroscopic, meaning it absorbs and releases moisture. That’s why oak expands across the grain and drawers stick in humid summers. Keep relative humidity steady, and your furniture responds with fewer cracks, warps, or loosened joints.
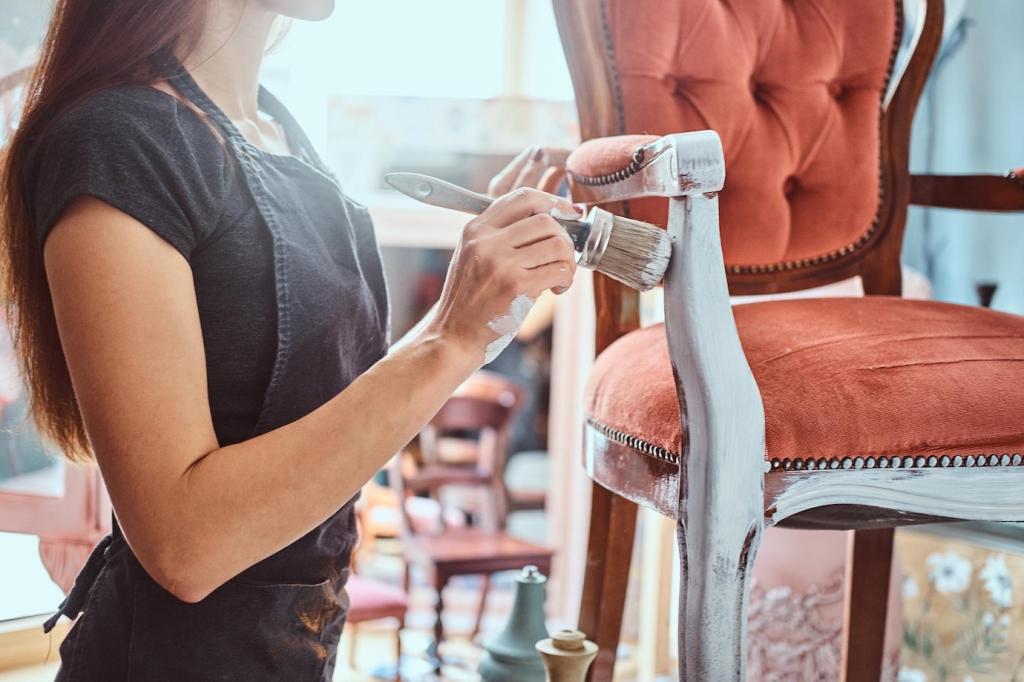
Finishes: Varnish, Lacquer, Shellac, and Oil
Different finishes protect in different ways. Shellac can blush with moisture, lacquer resists water better, oils penetrate and enrich grain but offer modest protection. Knowing the finish helps you choose safe cleaners, polishes, and repair techniques without guessing.
Common Damage Types to Watch
Water rings, heat marks, UV fading, dents, scratches, and veneer lift all have telltale signs. Learning to identify them early—before stains set or fibers crush—turns tiny issues into quick touch-ups rather than stressful weekend projects.
Humidity and Temperature Control
Aim for 40–55% relative humidity year-round. Use a humidifier in winter, dehumidifier in sticky summers, and keep furniture away from vents and radiators. Your table will thank you with fewer seasonal gaps and squeak-free joints.
Sunlight, Placement, and UV Protection
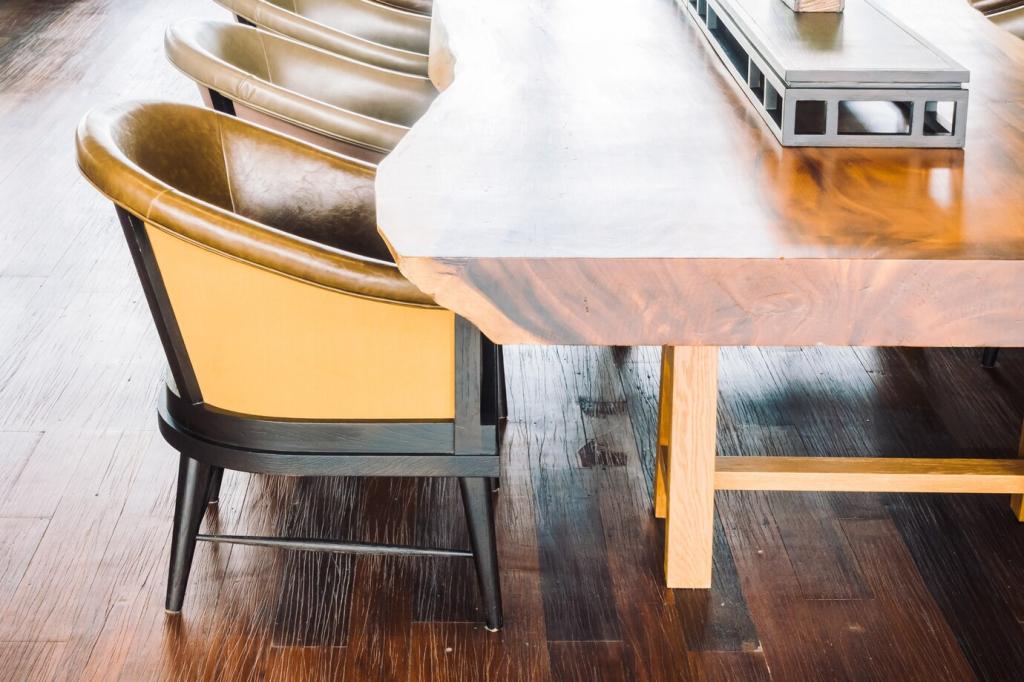
Sunlight gradually bleaches color and weakens finishes. Use curtains, UV-filtering film, or rotate pieces to even out exposure. That cherished walnut sideboard won’t develop a pale patch where the morning sun kisses it daily.
Everyday Habits That Matter
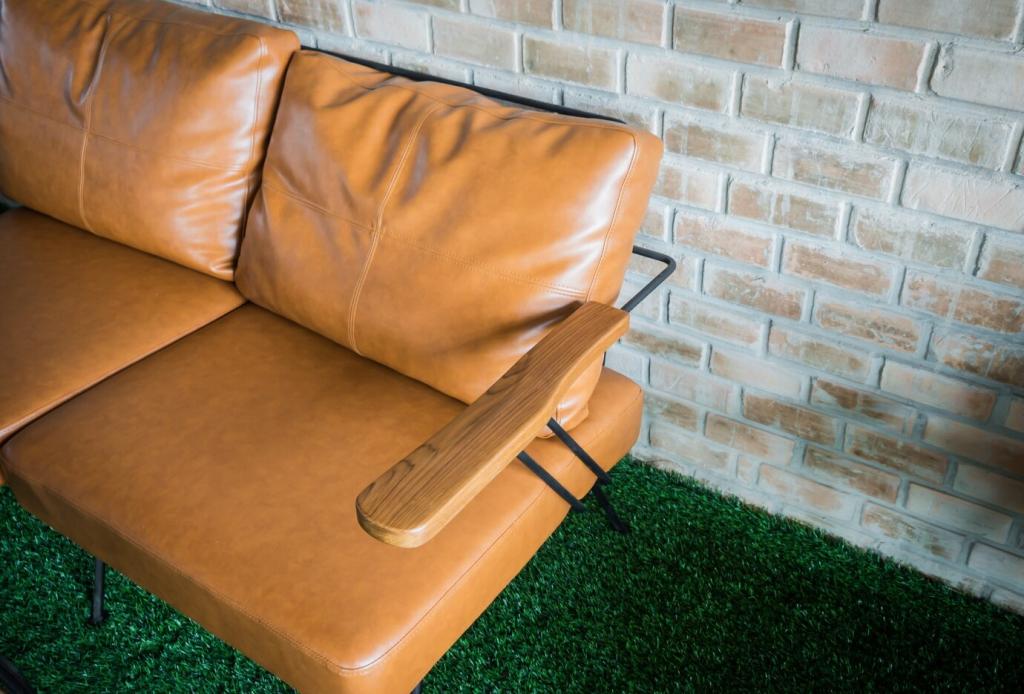
Coasters, placemats, and felt pads are unsung heroes. Lift rather than drag décor, wipe spills immediately, and avoid leaving hot mugs bare on tabletops. Tiny habits save you from the familiar panic of discovering a fresh white ring.
Dust with a soft microfiber cloth along the grain. For grime, use a slightly damp cloth with mild soap, then dry immediately. Skip harsh chemicals and silicone sprays that can cloud finishes and complicate future refinishing.
Use a high-quality paste wax or a finish-appropriate polish sparingly. Wax adds a sacrificial layer against scuffs and moisture. Too much product invites buildup, so less is more—an occasional, careful buff goes a long way.
Each season, inspect for wobbly legs, loose hardware, or hairline cracks. Tighten screws gently, replace worn felt pads, and address tiny scratches before they deepen. These 15-minute rituals prevent emergencies and keep pride in daily use.
Treating Common Damage with Confidence
Water Rings and White Heat Marks
Those cloudy white circles usually mean moisture trapped in the finish. Try a dry cotton cloth and low heat from a hairdryer, moving constantly. Some swear by a tiny dab of petroleum jelly overnight—test in a discreet spot first.
Scratches, Scuffs, and Dents
Blend shallow scratches with a matching wax repair stick or touch-up marker. For dents, a damp cloth and a warm iron can lift compressed fibers. Always practice on the underside to calibrate heat, pressure, and timing safely.
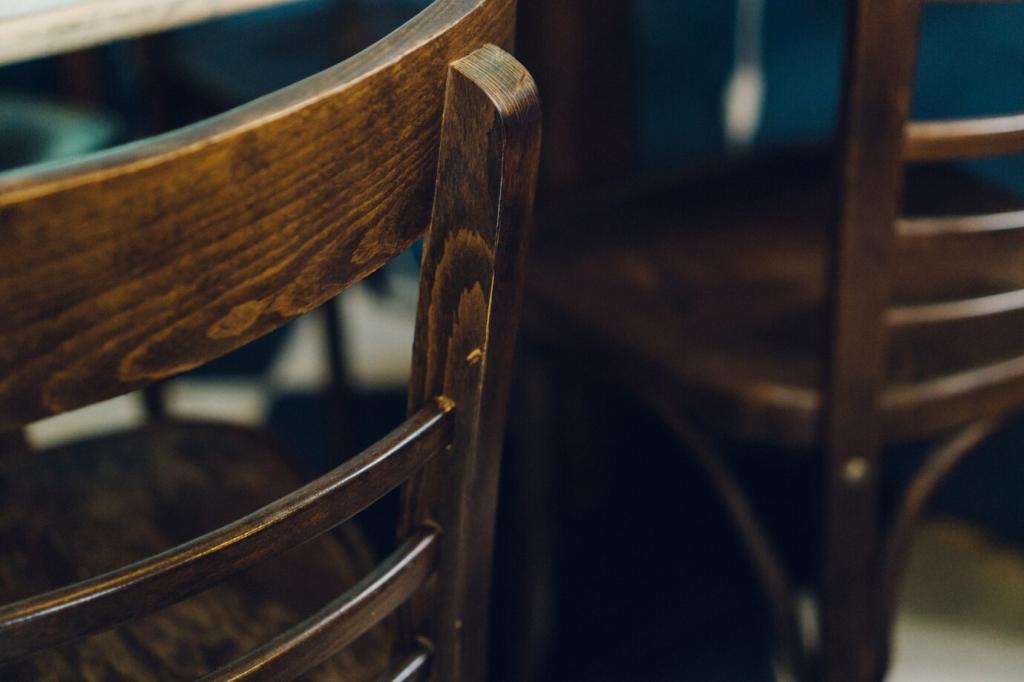
Wobbles and Loose Joints
Chair joints loosen as glue fatigues. Avoid quick fixes like screws through tenons. Instead, carefully disassemble, clean old glue, and reglue with clamps. If the joinery is complex or antique, consult a pro to preserve value.
Accident Triage: What to Do in the First Five Minutes
Blot immediately—never rub—using a clean, absorbent cloth. Lift the liquid, then dry the area thoroughly. Avoid heat until the surface is clearly dry, and only then consider mild cleaners appropriate to the finish.
Accident Triage: What to Do in the First Five Minutes
Place a barrier immediately and remove the hot item. After cooling, evaluate. White haze may respond to gentle warmth and buffing; dark marks could indicate deeper finish damage requiring sanding and spot refinishing by experienced hands.
Your DIY Toolkit: Safe Supplies and Setup
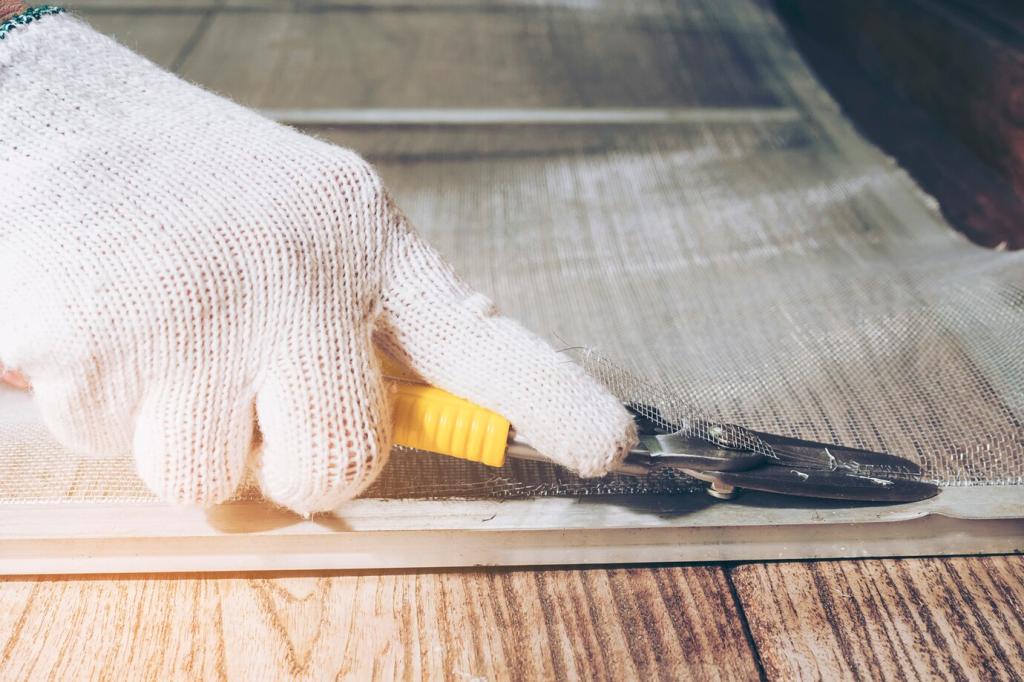
Microfiber cloths, cotton swabs, paste wax, touch-up markers, felt pads, painter’s tape, wood glue, clamps, 320–600 grit sandpaper, and nitrile gloves. Add a magnifying light so you truly see what you’re doing before acting.
Your DIY Toolkit: Safe Supplies and Setup
Small defects call for subtle tools: wax sticks for color fill, card scrapers for careful leveling, and a hairdryer for finish blush. The best fix looks invisible because it is minimal, matched, and methodical.
DIY or Pro? Making the Right Call
When chairs creak dangerously, rails split, or mortise-and-tenon joints fail, expert intervention preserves integrity. A professional can rebuild soundly without short-term hacks that risk further damage or devalue a beloved piece.